April 13, 2011

Yarn Wreath Tutorial

My front door was in need of a little colour. The space between the storm door and front door is tiny. Miniscule, actually. After a little thought, I came up with this fab wreath that will fit in the shallowest of spaces. It was fun, inexpensive and is just the burst of texture and colour that my front door needed.

Want to make a yarn-wrapped egg wreath? Here's how.
First, I raided my recycling box for some cardboard to make the base.

Unfold the boxes, and lay the cardboard flat. I used this lovely bucket Andrew gave me for Christmas. I liked the proportions. Trace the top, then the bottom, making sure the smaller circle is centred in the larger circle. If you don't have a bucket, you could use two different sizes of plates or bowls. 

 Cut out the circle. You should end up with a ring that looks something like this:

Cut tissue paper into strips. I just used what I had on hand. Wrap the tissue paper around the ring.

Next, draw three different sizes of eggs. I drew them freehand on paper. You could trace cookie cutters or find a template on the internet.

Trace the egg templates onto cardboard. Then cut them out. I used 10 large eggs, 10 medium eggs and 10 small eggs. The number of eggs needed is dependent upon the size of the wreath.

Cheery yarn from a second-hand shop. 6 partly used balls for $2. Sold!

Begin by attaching the yarn to the back of the egg.

Then wrap the yarn around the middle of the egg, making sure the edges are covered.

Switch directions, and wrap diagonally.

Continue wrapping, changing direction when the yarn begins to slip.

Once all the eggs are wrapped, begin by attaching the large eggs around the wreath base.

Continue adding eggs until all the gaps are filled in.


Now to add some bunting. I used an old shirt and a flour bag.

On the fold of the flour bag, cut out a triangle. You'll end up with two layers. String the triangles over a lenght of yarn.

Cut out a triangle out of the fabric, just slightly smaller than the paper triangle. Using a sewing machine, sew the fabric triangle onto the paper. Write out your message using a disappearing marker.

Using embroidery thread, stitch on the letters.

Attach the bunting to the wreath.

Ready to hang.


Linking up here.
  

April 8, 2011

My Dining Room

Right at this moment, this sits in my dining room.

Along with this.

And this.

And this.


It's old. It's sturdy. It works! A kind gift from my dad. He repaired it, labeled it, disassembled it and loaded it into our van.

It's heavy. Way heavy. Too heavy. So, it's having a quick lay-over until it makes it down to the basement workshop, where it will be put to great use by Andrew. I can't wait for the cutting to begin. Hooray for table saws! And the projects that they bring.

Retro Stools

A sneak peek of what not-so-pretty-retro-stools can become.

I found these at the ReStore.

They'd seen better days.

But, they only cost $5 for the pair. Yep. It was half price day at the ReStore. I love that place.

And the transformation began.  The stools were flipped over and legs removed.

Staples pulled out with the flip-grips and the vinyl removed.

Underneath the green and orange...

Grey vinyl from the remnant section of the fabric store. For $2, there was enough vinyl to recover both stools with some left over.

Some emblishment was added before stappling the vinyl to the stools.

A needle, emboidery floss and a fabric marker help give the stools some character.


The frame got a coat of silver spray paint.

And then some black paint was rubbed over top of the frame to add some depth.

The new vinyl was stappled onto the seat, which was then reattached to the frame. And voila! Tout fini! Two great stools.

April 7, 2011

Happy

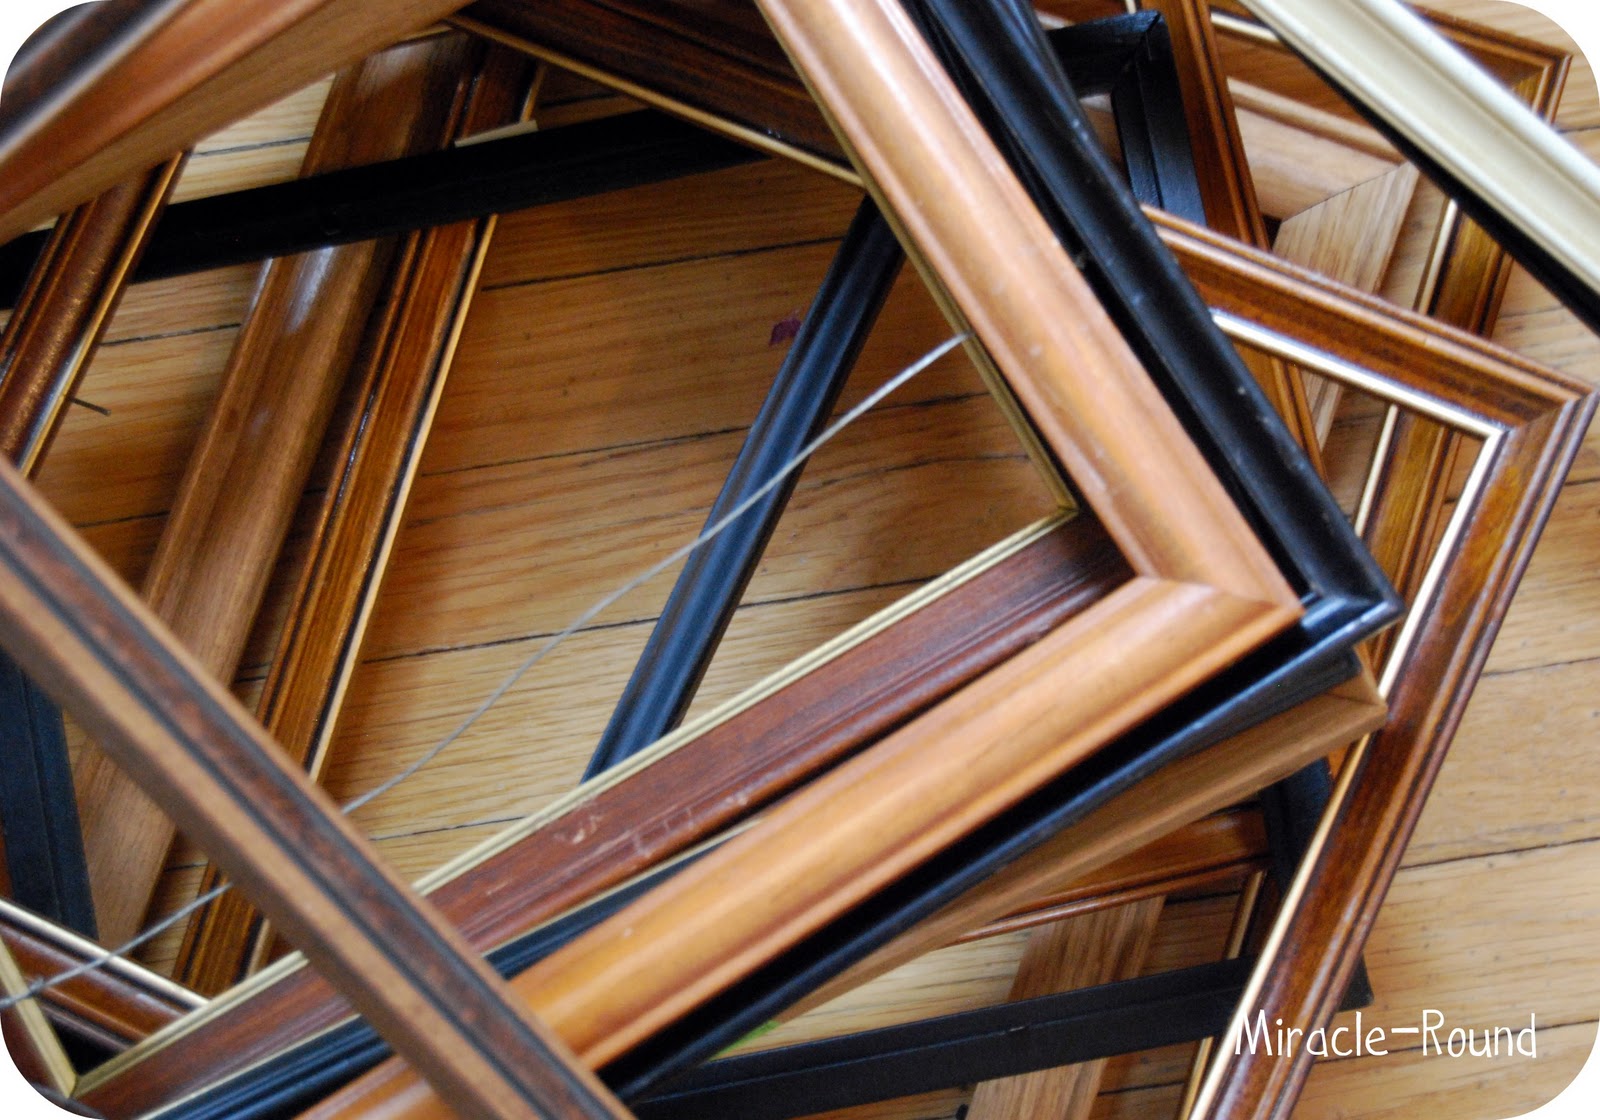
No glass. In need of paint. Odd sizes. 50 cents a piece. Happiness. Possiblities. Soon to be lovely.

April 4, 2011

Snow

It snowed last night. It covered the trees and the grass. It would have been pretty - if it wasn't April. This was the view out our side door.


And the snow was still here this morning. :(

Getting Ready for a Night at the Museum

When a school project and a love of sculpting collide...


For Museum Night at school, the Little Miss made a volcano depicting both the good and bad things about volcanoes. Her love of art comes through it whatever she does.

Forming.

Sculpting.


Animals.

The good.


The bad.

And the finished.

April 1, 2011

Tires

Today is Remote-Control-Car Day at school.

Last night, Andrew gave this hot rod a tune up: new batteries, adjustments and a test drive. He did a fantastic job. But, much to Mr. Man's dismay, he forgot one very important thing: a tire.

One sacrificial elastic later, and ta-da! A new tire.

Mr. Man happily hopped off to school, white tire and all.
Related Posts Plugin for WordPress, Blogger...